That nagging draft you feel sneaking in around your casement window isn’t just a minor chill. For homeowners in Salinas and Monterey, it’s a clear sign that you’re losing energy and potentially setting your home up for costly damage. Properly functioning window weather stripping for casement windows is non-negotiable, especially since these windows depend entirely on a tight compression seal to do their job.
The Real Cost of Worn-Out Window Seals
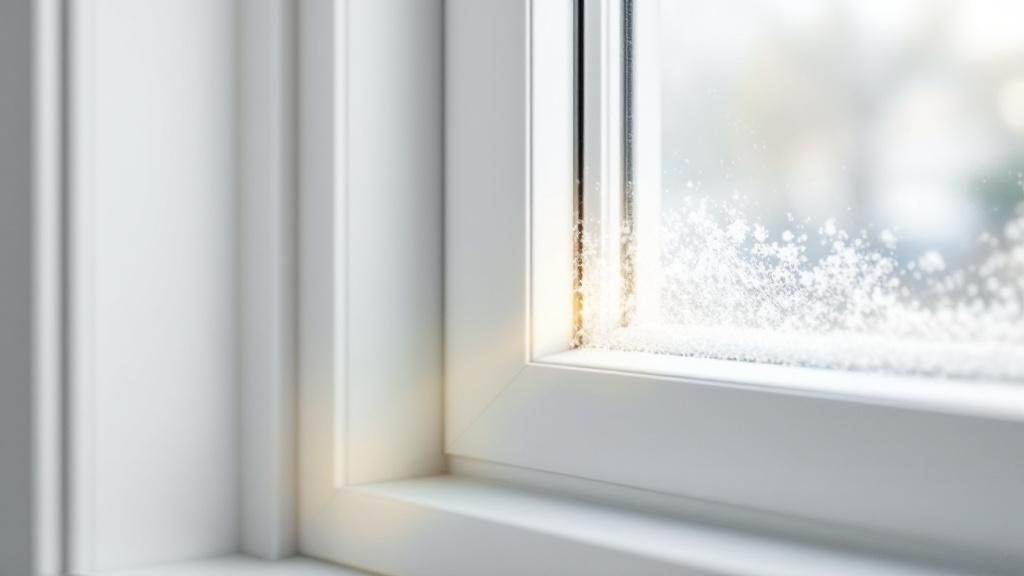
It’s easy for homeowners here in Monterey County to underestimate just how much trouble a deteriorating window seal can cause. What looks like a tiny gap can quickly spiral into a much bigger, more expensive problem. Because casement windows crank outward, the design requires the entire sash to press firmly against the frame to create an effective seal.
When that weather stripping gets old, brittle, or permanently compressed, the seal is broken. Conditioned air rushes out, and the outside elements creep in. Your furnace and AC unit are then forced to work overtime just to keep up, which is a significant issue for any resident in Salinas trying to manage utility costs.
Skyrocketing Energy Bills
The first and most obvious hit you’ll take is on your energy bills. A gap as small as 1/16 of an inch around a single window can let in as much cold air as leaving it cracked open all winter. According to the U.S. Department of Energy, drafts can be responsible for 5% to 30% of a home’s total energy use, a statistic that hits hard for California residents.
A tight seal is your first line of defense against energy loss. Replacing worn-out weather stripping isn’t just a repair; it’s a direct investment in lowering your utility bills. Learning how to save energy at home offers even more strategies that are perfect for homeowners in Monterey County.
Moisture Damage and Other Risks
Beyond the hit to your wallet, failing seals create a major risk to your home itself, particularly in the damp, coastal climates we see in Monterey and Carmel. Those gaps don’t just let air in—they welcome moisture and salty air, leading to a cascade of problems:
- Wood Rot: Consistent moisture is the enemy of wood frames and sashes, causing them to soften and decay over time.
- Mold and Mildew: Damp, dark spaces around a window are the perfect breeding ground for harmful mold and mildew to grow inside your walls.
- Pest Infestations: A small opening is all the invitation insects and other pests need to make their way into your home.
When you see the bigger picture, it’s clear why proper sealing is so important. For a really thorough look at this topic, you can check out a complete guide on energy efficiency for buildings. Taking care of worn weather stripping is a simple, proactive step that protects your home for years to come.
Selecting the Right Weather Stripping for Your Windows
Getting this part right is probably the most important step for a successful, long-lasting repair. When you walk into a hardware store, the wall of options can be pretty overwhelming for homeowners in Salinas. The real key is to match the material not just to your window type but also to the specific demands of our unique Monterey Bay climate.
Casement windows work by compressing the sash tight against the frame, so you need a material that can handle that constant pressure without going flat in a year. It’s tempting to grab a generic, cheap option, but as a local, family-operated business, we can tell you that you’ll be doing this job all over again next year. A little bit of homework now saves a ton of frustration later.
Comparing Common Material Types
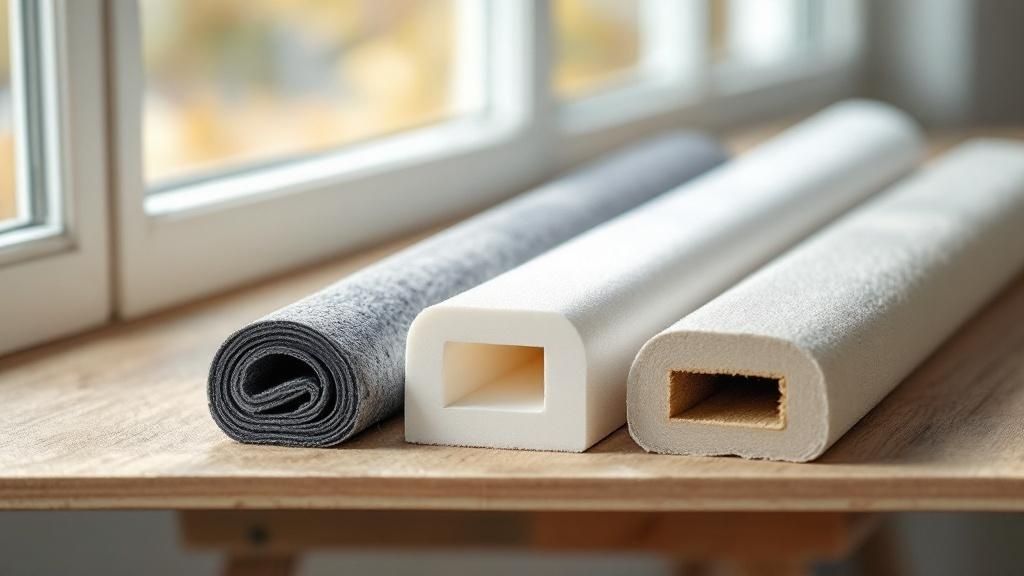
The three most common types of window weather stripping for casement windows you’ll come across are foam tape, V-strip (also called a tension seal), and tubular rubber or silicone. They all have their place, but they deliver vastly different results in terms of performance and how long they’ll last. Making the right call means balancing cost, ease of installation, and durability.
To make it easier, let’s break down the common materials you’ll find. Each has its strengths and is suited for different situations.
Comparing Weather Stripping Materials for Casement Windows
| Material Type | Best For | Average Lifespan | Installation Difficulty | Cost Level |
|---|---|---|---|---|
| Foam Tape | Quick, temporary fixes for small, irregular gaps. Very low-cost projects. | 1-3 years | Very Easy | Low |
| V-Strip (Tension Seal) | Sealing consistent, narrow gaps from 1/16” to 1/4”. Good mid-range durability. | 5-8 years | Moderate | Medium |
| Tubular Silicone/Rubber | Creating a durable, airtight seal on frequently used windows. Best for coastal climates. | 10+ years | Moderate to Difficult | High |
After looking at the options, it’s clear that while foam tape is easy and cheap, it just doesn’t have the staying power for a permanent fix on casement windows. V-strips are a solid step up, but for the best long-term results, tubular seals are the way to go.
For coastal homes in Monterey and Carmel, silicone is often the superior choice. It offers exceptional resistance to temperature swings, UV light, and the corrosive salt air that can quickly degrade lesser materials like vinyl or basic foam.
Why Material Matters for Coastal Homes
The unique climate we have here on the Central Coast puts a lot of extra stress on a home’s exterior, and weather stripping is no exception. The constant exposure to sun and salty, damp air calls for a material that won’t crack, shrink, or turn brittle. This is exactly where spending a bit more on a quality material like tubular silicone really pays dividends for homeowners in Monterey County.
For a more in-depth look at materials and professional tips on protecting your home from the elements, check out our guide to complete window weatherization. Choosing a durable seal ensures your casement windows stay efficient and protected for years, safeguarding your investment against our challenging coastal environment.
Preparing Your Windows for a Perfect Seal
From our decades of experience, we can tell you that a successful installation of window weather stripping for casement windows is 90% preparation. It’s tempting to rush this part, but that’s the fastest way to end up with a poor seal. Taking your time here is a smart investment that really pays off with a professional-quality result.
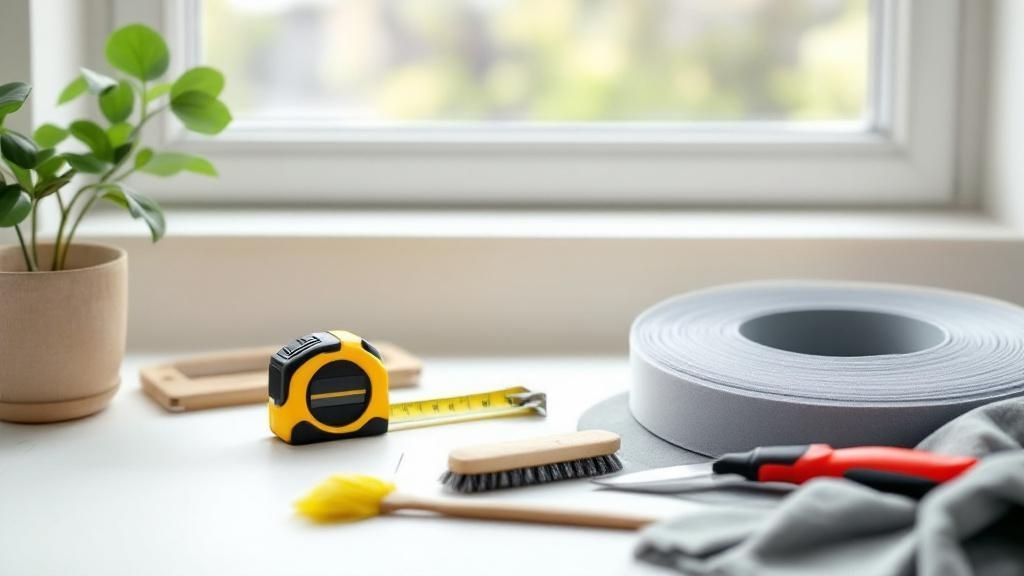
Before you even think about laying down the new material, get your tools together. Having everything you need within arm’s reach makes the job go much smoother for homeowners here in Salinas and Monterey.
Your Essential Tool Checklist
A little organization goes a long way. Make sure you have these items ready before you start pulling off any of the old, worn-out seals:
- Putty Knife or 5-in-1 Tool: Essential for prying off old stripping without gouging the window frame.
- Adhesive Remover: A good citrus-based cleaner or mineral spirits will make short work of stubborn residue.
- Cleaning Supplies: Isopropyl alcohol and a few clean rags for that final, crucial wipe-down.
- Safety Gear: A pair of work gloves will save your hands, and safety glasses are non-negotiable.
- Utility Knife or Heavy-Duty Scissors: For making clean, precise cuts on the stripping.
Removing Old, Brittle Weather Stripping
Alright, time to get to it. The first real step is to get rid of that old, failing seal. Use your putty knife to gently lift an edge of the old stripping, then slowly pull it away from the frame. If it’s old and brittle, it’s going to crack and break off in small pieces; just be patient.
For those of us in older Monterey homes, this step can be a real test of patience. You might find layers of old paint have basically fused the stripping to the frame. If you run into this, carefully score the paint line with a utility knife first to prevent pulling up chips of paint.
Expert Tip: Never try to force it. If the stripping won’t budge, apply a bit of adhesive remover, let it sit for a few minutes, and let the chemicals do the hard work for you. The old material should peel off much more easily.
Ensuring a Perfectly Clean Surface
Once the old stripping is gone, you’ll almost certainly see some leftover sticky residue. This gunk is the enemy of a good seal, as new adhesive won’t stick to a dirty surface. Apply your adhesive remover to a rag and work it into the residue until it’s dissolved.
After the gunk is gone, it’s time for the final and most critical prep step: clean the entire surface with isopropyl alcohol. This gets rid of any leftover oils or solvents, leaving you with a perfectly clean, dry surface that’s ready for the new window weather stripping for casement windows. Don’t skip this step.
Putting In Your New Casement Window Weather Stripping
Alright, with the window frames clean and ready, it’s time for the best part of the whole job—getting that new window weather stripping for casement windows installed. This is where all that careful prep work pays off. It’s a straightforward process and one of the most rewarding DIY projects for any homeowner in Monterey County.
First things first: accurate measurements are everything. Measure each side of the window frame where the new stripping will go, from corner to corner. Always follow the old carpenter’s wisdom: measure twice, cut once to guarantee a perfect fit without gaps.
This simple graphic breaks down the installation into three key actions.
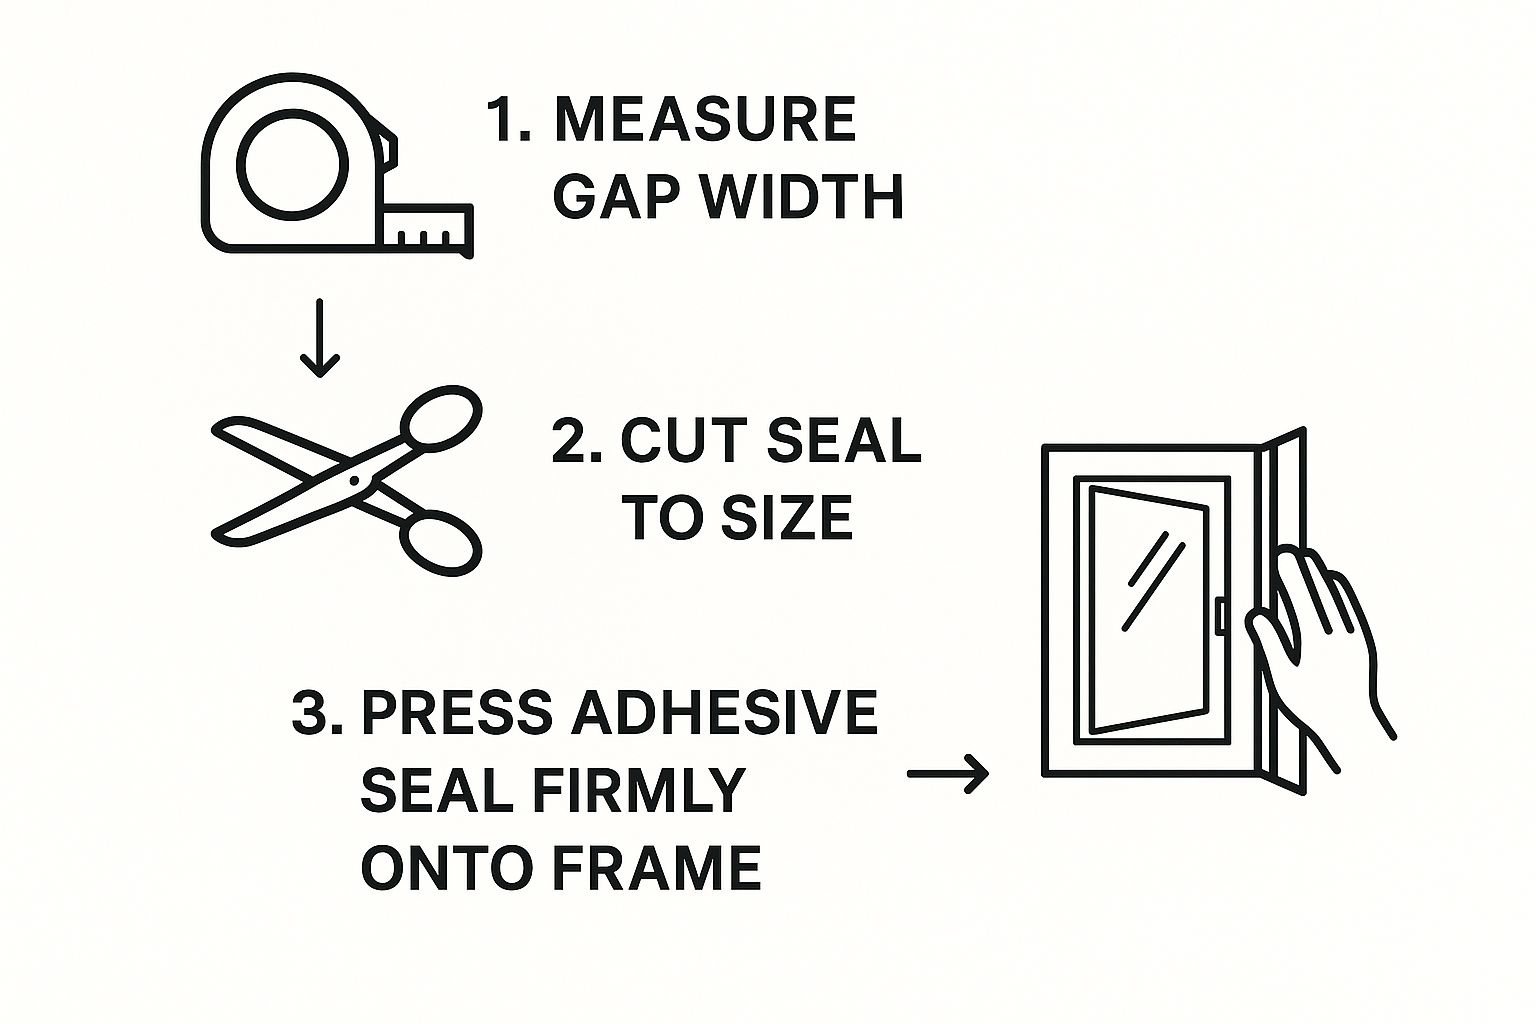
As you can see, a successful installation really comes down to doing a few simple things correctly. From getting the length just right to applying firm, even pressure, every stage is crucial for an airtight seal that looks and performs professionally.
How to Install Different Seal Types
The exact “how-to” will change a bit depending on which type of weather stripping you bought. For casement windows, you’re most likely dealing with either self-adhesive strips or kerf-style seals.
For Self-Adhesive Strips (Foam or Rubber):
- Cut It to Size: Use your measurements to make a clean, straight cut.
- Start in a Corner: Peel back a few inches of backing and press the sticky side firmly onto the frame.
- Work Your Way Down: Slowly peel off more backing as you move along, pressing down firmly. Do not stretch the stripping, as this will cause it to pull back from the corners and create gaps.
For Kerf-Style Seals (Silicone or Vinyl):
- Find the Groove: Look for the small, T-shaped fin on the bottom of the stripping, called the “kerf.”
- Press It In: Start at one end and use your thumb or a small putty knife to push the kerf down into the groove in the window frame.
- Keep It Smooth: Continue pressing the seal into the channel, ensuring it’s seated fully and doesn’t have any bumps.
Here’s a pro tip that makes a huge difference at the corners: cut separate, straight pieces for each side and butt them up tightly against each other at the 90-degree corners. Trying to bend a single piece almost always causes it to pucker, creating a spot for air and water to sneak in.
Final Checks and Tweaks
Once your new weather stripping is in place, close and lock the window. It should feel noticeably snugger, but you shouldn’t have to wrestle with it to get it shut. A good seal is all about firm, even compression.
Open and close the window a few times to make sure everything is moving smoothly and the new seal isn’t catching. For a deeper dive, our complete window installation guide has tons of valuable info that Salinas homeowners have found useful. Taking a moment for these final checks ensures your hard work pays off.
Troubleshooting and Maintaining Your New Seals
Even with a flawless installation, you might hit a small snag. That’s perfectly normal, and knowing how to handle these issues ensures your hard work pays off. This guide is here to help homeowners in Salinas and Monterey troubleshoot common problems.
A casement window that’s suddenly tough to operate is often a sign the new weather stripping is too thick. Before you do anything else, check that the seal is seated properly and isn’t bunched up. If it all looks good, you probably need a slightly thinner seal. Never force the window shut—this can damage the crank mechanism and ruin the new seal.
Keeping Your Seals in Top Condition
Once everything is sealed up tight, a little bit of proactive care will keep your new window weather stripping for casement windows performing beautifully for years. We recommend an annual inspection, especially for homes in coastal communities like Carmel where the salt air can be unforgiving.
Here are a few simple maintenance tips from our team:
- Clean Gently: When cleaning your windows, give the weather stripping a quick wipe with a damp cloth and mild soap. Avoid harsh chemical cleaners or solvents.
- Check for Compression: After a year, check the seal. If it looks permanently flattened, it’s probably not creating an effective seal anymore.
- Inspect the Corners: Pay extra attention to the corners. This is where gaps are most likely to show up first.
A well-maintained seal does more than just protect your investment; it keeps your home energy-efficient. According to the U.S. Department of Energy, effective air sealing can trim your annual energy bills by 10% to 20%, a significant saving for any homeowner in Monterey County.
What to Do If Problems Persist
If you’ve checked the seal and are still running into trouble, the problem might not be with the weather stripping itself. Sometimes, an underlying issue with the window’s alignment or its hardware can create problems that feel just like a bad seal.
For these more complex situations, it’s often best to get a professional opinion from a trusted, local company like ours. Our guide on fixing window installation problems in Monterey County can also offer some additional insights. Beyond the seals, regular upkeep, including professional window cleaning services, helps you spot potential issues early.
Frequently Asked Questions (FAQs)
As a family-operated business serving the Salinas area for decades, we’ve answered just about every question there is. Here are a few common queries about window weather stripping for casement windows.
How often should I replace weather stripping on my casement windows?
We recommend inspecting your weather stripping annually, especially in coastal areas like Monterey and Carmel where salt and sun can accelerate wear. As a general rule, plan to replace it every 5 to 10 years, or sooner if you notice visible damage, feel a draft, or see an unexplained rise in your energy bills.
Can I use the same weather stripping for both wood and vinyl casement windows?
Not always. While some generic foam tapes might seem universal, modern vinyl and fiberglass windows often require a specific “kerf-style” seal that fits into a pre-cut groove. Wood windows typically use other types, like compression or V-strip seals. Using the wrong type for your window will result in a poor seal.
Why is my casement window hard to close after installing new weather stripping?
This common issue almost always means the new weather stripping is too thick for the gap between the sash and the frame. First, ensure the strip is seated correctly and not bunched up. If it is, you likely need a thinner profile—never force the window shut, as you risk damaging the crank mechanism.
What is the best type of weather stripping to reduce outside noise?
For noise reduction, a dense, solid material like tubular silicone or rubber is your best bet. These materials create a more substantial barrier against sound waves compared to open-cell foam tapes, which is a great bonus for homeowners in the busier parts of Monterey County looking for more peace and quiet.
Is replacing window weather stripping a DIY job, or should I hire a professional?
For most handy homeowners in Salinas, this is a very manageable DIY project. However, if your windows are old, custom-made, or show signs of wood rot, or if you suspect an issue with the window’s hardware or alignment, it’s best to call in a professional. A local expert ensures the job is done right for maximum efficiency and peace of mind.
Feeling a little unsure or just want the confidence that comes with a flawless installation? The experts at Signature Glass and Windows, Inc. are here to help homeowners across Salinas, Monterey, and Carmel. As a locally owned, family-operated business with decades of experience, we’ll make sure every window is sealed perfectly for top-notch performance and efficiency.
Contact Signature Glass and Windows today for a free in-home consultation by visiting https://signatureglassandwindows.com or calling 831-754-8855.